Keeping your photos in a single location such as an iPhone isn’t always safe. Even with backups like iCloud, having a local copy on your PC or laptop is a wise precaution. Transferring photos from your iPhone to a PC has been made straightforward by Apple. Here’s a breakdown of the top methods to transfer your images.
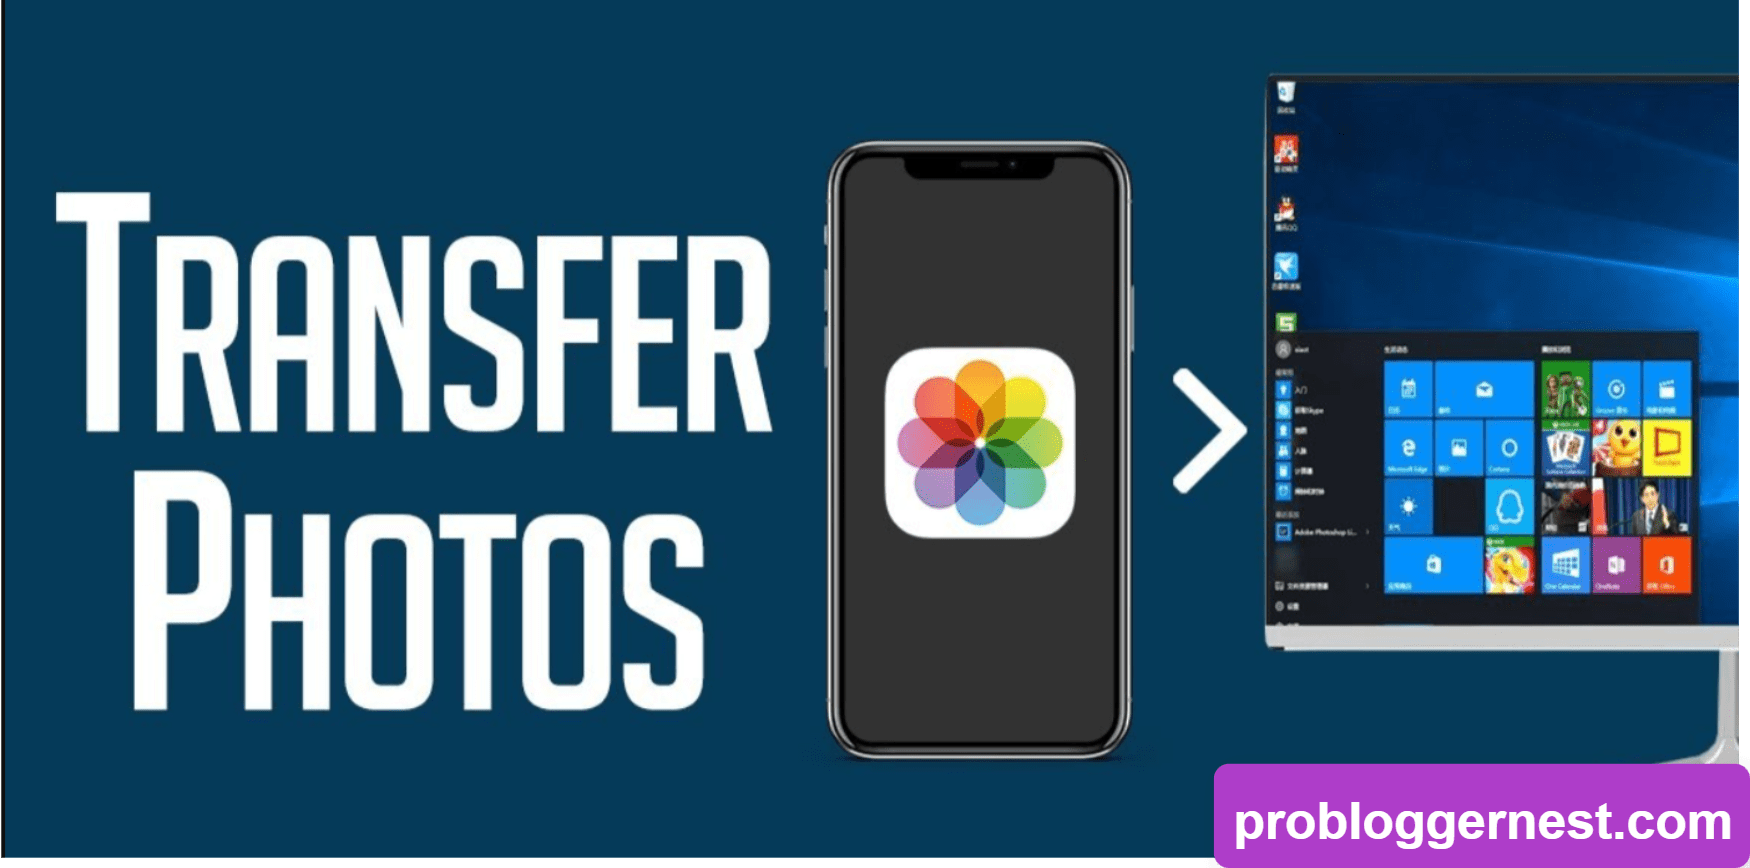
Transferring Photos Using the Photos App
Here’s a straightforward process to move photos from your iPhone to your PC:
- Connect your iPhone to the PC with a suitable USB cable.
- Unlock your iPhone to allow your PC to access the device.
- You’ll see a prompt on your iPhone to ‘Trust This Computer’. Tap ‘Trust’ or ‘Allow’, enabling your PC to access your iPhone photos.
- On your PC, click the Start button and open the Photos app.
- Choose ‘Import’ > ‘From a USB device’, and follow the on-screen instructions to select and transfer your photos.
Transferring iPhone Images to a PC Without Apps
If you prefer to avoid using iCloud or iTunes, you can transfer photos directly:
- Connect your iPhone to your PC using a USB lightning cable.
- If iTunes is not installed, your PC will ask to allow the device to access photos and videos. Click ‘Allow’.
- Open File Explorer on your PC. You’ll find your iPhone listed as a device on the left sidebar.
- Double-click your iPhone and open the “DCIM” folder. Inside, you’ll find subfolders named like “100APPLE”, and so on, which contain your photos.
- Simply drag and drop the desired photos into a folder on your PC.
Ensure to copy the photos if you want them to remain on your iPhone, or move them if you intend to free up space on the device.
This method not only safeguards your memories but also makes sharing and managing your photo library easier.
Continuing from the earlier methods, it’s crucial to understand the variety of options available for managing and transferring your photos from an iPhone to a PC. Each method offers unique advantages, and choosing the right one depends largely on your specific needs and the setup of your digital ecosystem.
Using iCloud Photos on Windows
For those who prefer to keep their photos synced across all devices, using iCloud Photos on a Windows PC is a viable option. Here’s how you can set it up:
- Download and install iCloud for Windows from the official Apple website.
- Sign in with your Apple ID and select the options you’d like to enable. Ensure that ‘Photos’ is checked.
- Click on ‘Options’ next to Photos, and choose ‘iCloud Photo Library‘. This will automatically sync your iPhone photos with your PC whenever you are connected to the internet.
- You can access these photos through the iCloud application on your Windows PC or directly from the File Explorer under iCloud Photos.
This method ensures that your photos are not only transferred to your PC but are also backed up in iCloud, providing double security by storing them in the cloud.
Using Windows AutoPlay
Another method to transfer photos if you’re using an older version of Windows or prefer a straightforward plug-and-play method is through Windows AutoPlay:
- Connect your iPhone to your PC using a USB cable.
- If AutoPlay is enabled, a pop-up should appear with several options. Choose ‘Import pictures and videos using Windows’.
- Follow the on-screen instructions to select and import your photos directly to a folder on your PC.
This method is quick and efficient, especially for those who do not regularly sync their devices or use cloud services.
Emailing Photos to Yourself
If you’re transferring a small number of photos and prefer a quick fix without involving cables or installations, emailing the photos to yourself might be the simplest option:
- Open the Photos app on your iPhone.
- Select the photos you want to transfer, then tap the share icon.
- Choose the mail option, enter your email, and send yourself the photos.
- Open your email on your PC, download the photos from the attachments, and save them to your desired location.
This method is best suited for a small number of images due to email size limitations.
Using Third-Party Software
There are several third-party applications available that provide more flexibility and features than the native options provided by Apple and Windows. Programs like PhotoSync, or AnyTrans offer a more robust solution for managing photos across different devices:
- Download and install the third-party software of your choice.
- Connect your iPhone to your PC and open the application.
- Follow the specific instructions provided by the application to transfer your photos. Many of these applications offer wireless transfer solutions, which are highly convenient.
Regular Backups
Regardless of the method chosen for transferring photos, regularly backing up your iPhone is essential. This not only protects your photos but also ensures that all your data is safe in case of hardware failure or loss:
- Use iTunes or iCloud to create full backups of your iPhone. This includes photos, settings, app data, and more.
- Schedule regular backups or set reminders to ensure your data is always protected.
In conclusion, transferring photos from your iPhone to a PC is a straightforward process with multiple methods to suit different needs. Whether through a wired connection, cloud service, third-party software, or even via email, ensuring the safety and accessibility of your digital memories can be achieved with minimal effort. Remember, regular backups are crucial for data security and will save you from potential data loss in the future.